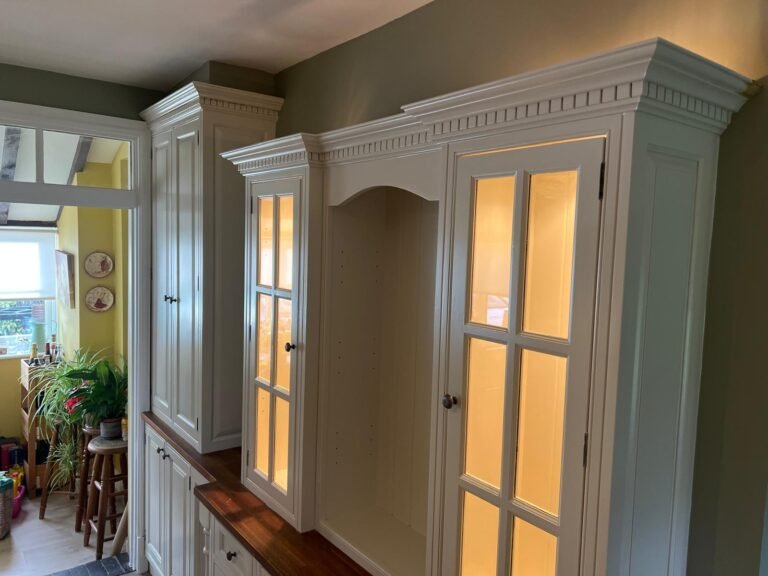
The Professional Kitchen Painting Process: What to Expect
Transforming your kitchen with a professional kitchen cabinets painting service is one of the most effective ways to modernise your home without the stress of a full renovation. However, achieving a “factory-standard” finish that withstands the daily rigours of a busy home requires a meticulous, multi-stage process.
How long will my kitchen be ‘out of action’ during a painting project?
A kitchen cabinet painting project typically takes between 5 and 7 working days. At Superior Property Maintenance & Improvements, we work efficiently to ensure your kitchen remains functional for as long as possible.
Nathan Steans utilises his 32+ years of experience to ensure every cabinet is finished to a high-end, furniture-grade standard. Below is the step-by-step journey of a professional kitchen transformation.
Phase 1: Preparation and Protection
The foundation of a great kitchen finish is a clean and protected workspace.
- Dismantling: We carefully remove all cabinet doors, drawer fronts, and hardware (handles and hinges) to ensure every edge can be painted with precision.
- Masking: All surfaces not being painted (worktops, appliances, flooring, and internal cabinet carcasses) are meticulously masked with professional-grade tapes and protective sheeting.
- Degreasing: Kitchen environments are prone to a buildup of cooking oils and steam. We use specialist industrial degreasers to remove every trace of residue, ensuring the new finish bonds perfectly to the substrate.
Phase 2: Surface Restoration and Priming
Once clean, the surfaces must be prepared to accept the new coating.
- Sanding: We use dustless sanding equipment to provide a “key” for the paint. This process smooths out any existing imperfections without filling your home with dust.
- Repairs: Minor dents, scratches, or chips in the original units are repaired with professional fillers and sanded flush.
- High-Adhesion Priming: We apply a specialist “shellac-based” or high-adhesion primer. This acts as a bridge between the original surface, whether wood, laminate or MDF, and the new paint, preventing future peeling or chipping.
Phase 3: The Professional Finish
The final aesthetic and durability are achieved through the application of specialist topcoats.
- Precision Application: Depending on the desired look, we use high-end spray systems or traditional hand-painting techniques to apply multiple thin, even coats of specialist furniture paint.
- De-nibbing: Between every coat, we “de-nib” the surface (a very fine sand) to remove any microscopic dust particles, ensuring the final result is as smooth as silk.
- Tough Topcoats: We use advanced, cross-linking paint systems that “cure” to a hard-wearing shell, providing a finish that is resistant to heat, moisture, and staining.
Phase 4: Reassembly and Reveal
The final stage brings the entire kitchen back together.
- Curing Time: We allow the components to dry in a controlled environment until they are hard enough to handle safely.
- Reinstallation: Doors and drawers are expertly re-hung, and hinges are re-aligned to ensure a perfect fit.
- Quality Check: Nathan performs a final walkthrough to ensure every detail meets his rigorous 32-year standards before we remove all masking and leave your kitchen clean and ready to use.
Ready for a Kitchen That Looks Brand New?
A professional finish can save you thousands compared to a replacement while giving you the bespoke look you’ve always wanted.